
PHP上で動作するアプリケーション開発フレームワーク symfony を導入します。プロジェクト,アプリケーション,モジュールを作成し、ブラウザで確認するところまでをまとめました。 http://www.symfony-project.org を参考にしていますので、詳細はそちらをご覧ください。
下記環境に PEAR を用いて symfony 1.4.19 をインストールしました。
CentOS 6.2 x86_64(サーバー名:centos6)
Apache 2.2.15
PHP 5.3.3 (Zend Engine v2.3.0)
symfonyはMITライセンスに基づいています。 商用利用もOKで、GPLなどとは違い、コピーレフトではなく(二次著作物のライセンス変更可)ソースコードを公開する必要もないので、ライセンスについてあまり気にする必要はありません。(著作権表示の義務はありますが)
symfonyのインストール
root で実行しました。
- pearを アップグレード
$ pear upgrade PEAR
Nothing to upgrade
- symfonyのチャネルに接続
$ pear channel-discover pear.symfony-project.com
Adding Channel "pear.symfony-project.com" succeeded
Discovery of channel "pear.symfony-project.com" succeeded
- インストールの実行
$ pear install symfony/symfony-beta
downloading symfony-1.4.19.tgz ...
Starting to download symfony-1.4.19.tgz(3,188,169 bytes)
......................................................
......................................................
......................................................
......................................................
......................................................
......................................................
......................................................
done: 3,188,169 bytes
install ok:
channel://pear.symfony-project.com/symfony-1.4.19
- 確認(バージョンを表示してみる)
$ symfony -V
symfony version 1.4.19 (/usr/share/pear/symfony)
プロジェクトの作成
Linux user smi でディレクトリ “/home/smi” 配下に作成しました。
- プロジェクト “jobeet” を作成する。
$ cd /home/smi
$ mkdir jobeet
$ cd jobeet
$ symfony generate:project jobeet
- /home/smi/jobeet 配下に symfony プロジェクトに必要な以下ディレクトリが作成される。
apps/ プロジェクトのすべてのアプリケーションを格納する
cache/ フレームワークによってキャッシュされるファイル
config/ プロジェクトの設定ファイル
data/
lib/ プロジェクトのライブラリとクラス
log/ フレームワークのログファイル
plugins/ インストールされたプラグイン
test/ ユニットテストと機能テストのファイル
web/ Web 公開ルートディレクトリ
アプリケーションの作成
- アプリケーション “frontend” を作成する
$ symfony generate:app frontend
- /home/smi/jobeet/apps/frontend 配下にアプリケーションに必要な以下ディレクトリが作成される。
config/ アプリケーションの設定ファイル
i18n/
lib/ アプリケーションのライブラリとクラス
modules/ アプリケーションのコード (MVC)
templates/ グローバルテンプレートファイル
WEBサーバーの設定
- httpd.conf を編集します。(httpd.confのパスは環境により異なります)
$ vi /etc/httpd/conf/httpd.conf
- User
User smi
Linuxユーザーsmiの$HOMEディレクトリをプロジェクトホームにしているので、便宜上ユーザーをsmiに変更します。プロジェクトホームをどこにするかなどPermissionをどう与えるかなど基本設計の部分で適宜決める必要があります。 - Listen
Listen は、デフォルトでポート番号 80 が1つ記述されています。
Listen 80
デフォルトの80番ポートを使うならそのまま何もしません。
80番ポートは、通常のhtmlを表示し、symfonyプロジェクトは 8080番ポートを使うといった場合は、もう一行
Listen 8080
を追加で記述します。
→この場合、8080ポートに対して Firewall の設定が必要です。 - VirtualHost
Apacheのバーチャルホスト機能を使用し、公開用ルートディレクトリ /home/smi/jobeet/web を直接アクセスできるように設定します。NameVirtualHost *:80 <VirtualHost *:80> DocumentRoot "/home/smi/jobeet/web" DirectoryIndex index.php ServerName centos6:80 ErrorLog logs/centos6-error_log CustomLog logs/centos6-access_log common <Directory "/home/smi/jobeet/web"> AllowOverride All Allow from All Alias /sf "/usr/share/pear/data/symfony/web/sf" <Directory "/usr/share/pear/data/symfony/web/sf"> AllowOverride All Allow from All </VirtualHost>別のポート番号を使用する場合、80 の部分に別のポート番号を指定します。
- Apache を起動(再起動)します。
$ apachectl start
or
$ apachectl restart
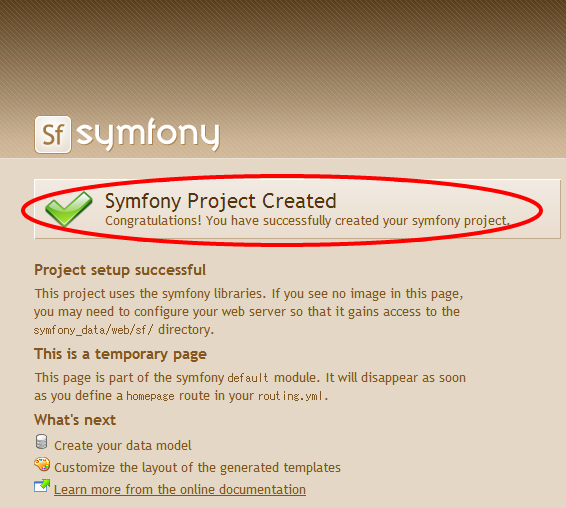
ブラウザでの確認(プロジェクト)
- これまでのタスクで、”/home/smi/jobeet/web” に “index.php” が作成されていますので、PCブラウザから確認します。
http://centos6/
→当該環境では、IP:192.168.1.100 のWEBサーバーへの名前解決についてhostsファイルを使用します。 PC hostsファイルに1行追加します。C:\> notepad %windir%\system32\drivers\etc\hosts
# Copyright (c) 1993-2006 Microsoft Corp.
#
# This is a sample HOSTS file used by Microsoft TCP/IP for Windows.
#
# This file contains the mappings of IP addresses to host names. Each
# entry should be kept on an individual line. The IP address should
# be placed in the first column followed by the corresponding host name.
# The IP address and the host name should be separated by at least one
# space.
#
# Additionally, comments (such as these) may be inserted on individual
# lines or following the machine name denoted by a '#' symbol.
#
# For example:
#
#      102.54.94.97     rhino.acme.com          # source server
#       38.25.63.10     x.acme.com              # x client host
127.0.0.1       localhost
192.168.1.100   centos6
- 「Congratulations! You have successfully created your symfony project.」のメッセージが表示されていればOKです。
モジュールの作成
- モジュール “category” を作成する。
$ cd jobeet
$ symfony generate:module frontend category
※「PHP Warning」
- /home/smi/jobeet/apps/frontend/modules/ の下に “jobeet” ディレクトリ、更にその下に “actions”, “templates” ディレクトリが作成されます。
これらのディレクトリには、初期のアクションファイル、テンプレートファイルが作成されます。$ ls apps/frontend/modules/category/actions/ actions.class.php $ ls apps/frontend/modules/category/templates/ indexSuccess.php
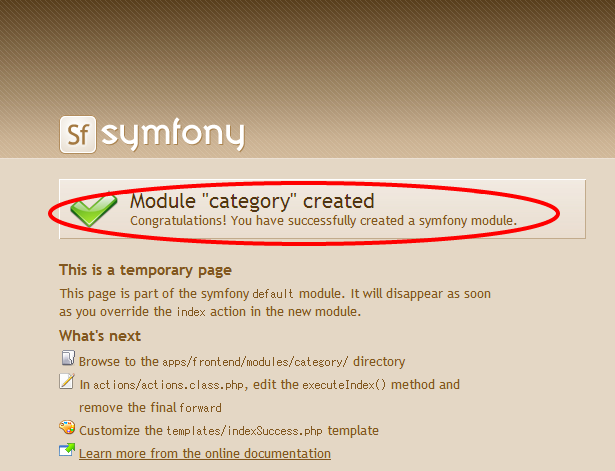
ブラウザでの確認(モジュール)
- ここまでのタスクが完了した時点で、symfony デフォルトページが表示されるようになります。 PCブラウザから確認します。
http://centos6/category/index - 「Congratulations! You have successfully created a symfony module.」のメッセージが表示されていればOKです。
$ apachectl restartを実施したさい、コンソールに
Warning: DocumentRoot [/home/smi/jobeet/web] does not existと、エラー表示されました。
調べてみると、SELinux のせいだということがわかりました。
【調べ方】
$ getenforceEnforcing
Enforcing(有効) / Permissive(無効)
【無効化/有効化】
$ setenforce 0or
$ setenforce Permissive
で、無効化
$ setenforce 1or
$ setenforce Enforcing
で、有効化
↑は、一時的
【SELinux 起動時設定】
$ vi /etc/selinux/config# This file controls the state of SELinux on the system.# SELINUX= can take one of these three values:
# enforcing - SELinux security policy is enforced.
# permissive - SELinux prints warnings instead of enforcing.
# disabled - SELinux is fully disabled.
SELINUX=enforcing
→「enforcing」のところを変更する。
enforcing :ボリシーの設定に反するアクセスを拒否し、ログを出力する。
permissive :ボリシーの設定に反するアクセスであっても許可する。ただし、ログは出力する。
disabled :ボリシーの設定に反するアクセスを許可。ログを出力しない。